Connect your Smartlead API key
When to use this guide: Use this guide when configuring or validating engagement platform integration behavior.
Here are step-by-step instructions on how to connect Smartlead to OutboundSync via API key. This is necessary for block list sync, category-based filter setup, and viewing lead categories in Connected Accounts.
What the API key does (and does not do)
Section titled “What the API key does (and does not do)”OutboundSync uses two separate Smartlead connections:
- Webhooks deliver day-to-day email activity — sends, opens, replies, bounces, and similar events — into HubSpot or Salesforce. See the Smartlead webhook guide for setup.
- API key powers features that read from or write back to Smartlead: CRM block list sync, category-based filter configuration, and lead category lookup in Connected Accounts.
An invalid API key warning in Connected Accounts is worth fixing, especially if you rely on block lists or category filters. It does not stop standard webhook payloads from arriving or syncing into your CRM.
If Smartlead deactivates or regenerates your key, copy the current key from Smartlead and edit the existing entry in OutboundSync rather than creating a duplicate.
Sharing the API key with a teammate
Section titled “Sharing the API key with a teammate”Not everyone who configures OutboundSync needs Smartlead UI access. One teammate with Smartlead admin access can create an admin API key and share it securely (for example via Slack DM). The person who pastes that key into OutboundSync Connected Accounts → External API keys can set up block lists, category filters, and lead-category lookup without logging into Smartlead.
This matters when Smartlead workspace invites fail — for example when a teammate already has a personal Smartlead account and cannot join the paid workspace. Share the admin key out of band instead of blocking setup on UI access.
Step 1. Generate an API key in Smartlead
Section titled “Step 1. Generate an API key in Smartlead”First, log in to Smartlead and go to your Smartlead account profile .
If you do not already have a Smartlead API key, then generate a new one and copy it.
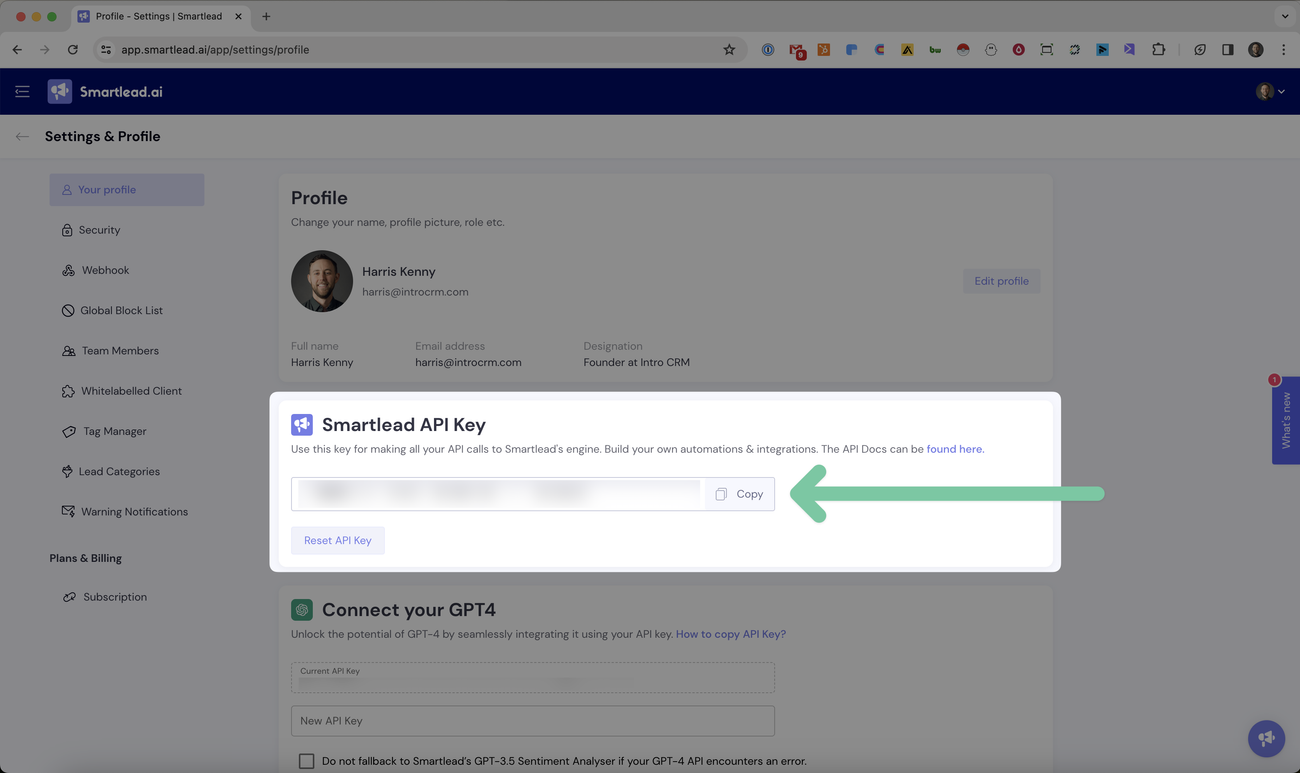
Step 2. Add your API key in OutboundSync.
Section titled “Step 2. Add your API key in OutboundSync.”Next, login to OutboundSync and click Connected Accounts in the left menu.
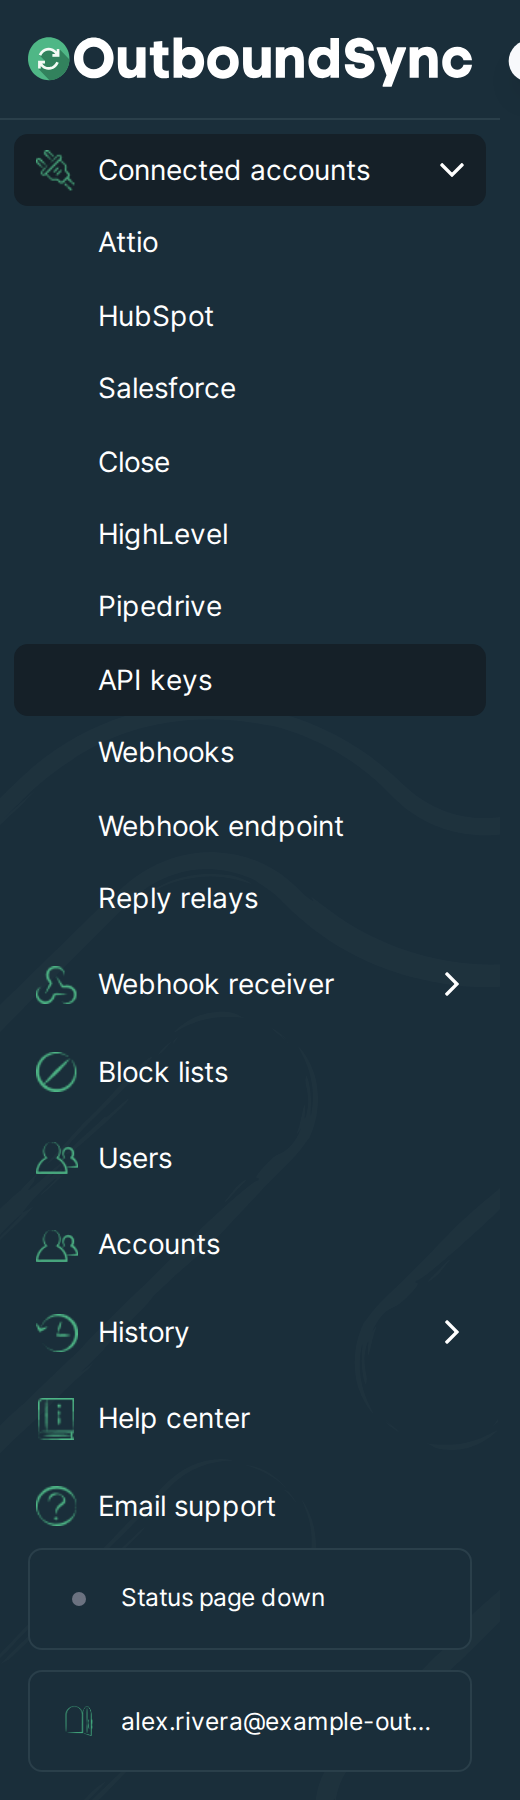
- Navigate to External API keys (screenshots may still show the previous API keys or Tool credentials label for this page).
- Select which Profile (CRM account) you want to use.
- Select Smartlead under the Tool dropdown.
- Enter/paste your API Key.
- Enter a Description.
- Click the Create button.
OutboundSync will check your API key before saving it. If your API key fails, it will not be saved in OutboundSync.
Step 3. Maintaining your API connection
Section titled “Step 3. Maintaining your API connection”You can always come back to OutboundSync and click the Check API Key button to verify that your API Key is still valid and active.
If the key shows as invalid, regenerate or copy the current key in Smartlead and update the existing OutboundSync entry. Keys are often deactivated when someone rotates credentials in Smartlead.
In this page, you can also check your Lead Categories or Statuses. You can learn more about what this means here .
Next step
Section titled “Next step”- Configure Smartlead webhooks
- Verify the connection with a test payload
- Reprocess errored webhook logs (after fixing the underlying sync issue)