Using Additional Endpoints for Smartlead
When to use this guide: Use this guide when configuring or validating engagement platform integration behavior.
Additional Endpoints (now Forwarding destinations in the admin UI) let OutboundSync forward your Smartlead activity to more than one place. Smartlead sends each event once to OutboundSync, which always syncs it to your CRM. When forwarding destinations are configured, OutboundSync also forwards a copy of the events you choose to other tools like Make, Zapier, Clay, or a custom URL.
Why Smartlead needs Additional Endpoints
Section titled “Why Smartlead needs Additional Endpoints”Smartlead limits how many places it will send each event — in practice, a single HTTP (“Normal”) webhook destination plus a Slack notification. Smartlead owns and updates these rules, so treat their documentation as the source of truth: see Maximizing webhook capabilities and Webhook not sending triggers for the current behavior, including how webhook scope and priority work.
That single-destination limit is why fan-out matters: if you pointed Smartlead at OutboundSync and Zapier separately, Smartlead would deliver to only one of them. Additional Endpoints is the supported way to keep CRM sync and still reach your automation tools.
Not receiving events? If Smartlead stops sending to OutboundSync, it is usually a Smartlead-side webhook conflict (for example, a higher-scope webhook taking precedence over a lower one). Check Smartlead’s webhook documentation for the current rules, and our Smartlead webhook guide for OutboundSync-specific setup.
You can use Additional Endpoints to:
- Store campaign replies — Send replies to another platform for logging and follow-up.
- Enrich lead data — Trigger enrichment or routing tools from specific events.
- Build specialized reporting — Distribute different events to reporting destinations.
How to set up Additional Endpoints
Section titled “How to set up Additional Endpoints”Step 1: Register a destination URL
Section titled “Step 1: Register a destination URL”Register each third-party URL as a Forwarding destination before you attach it to a source.
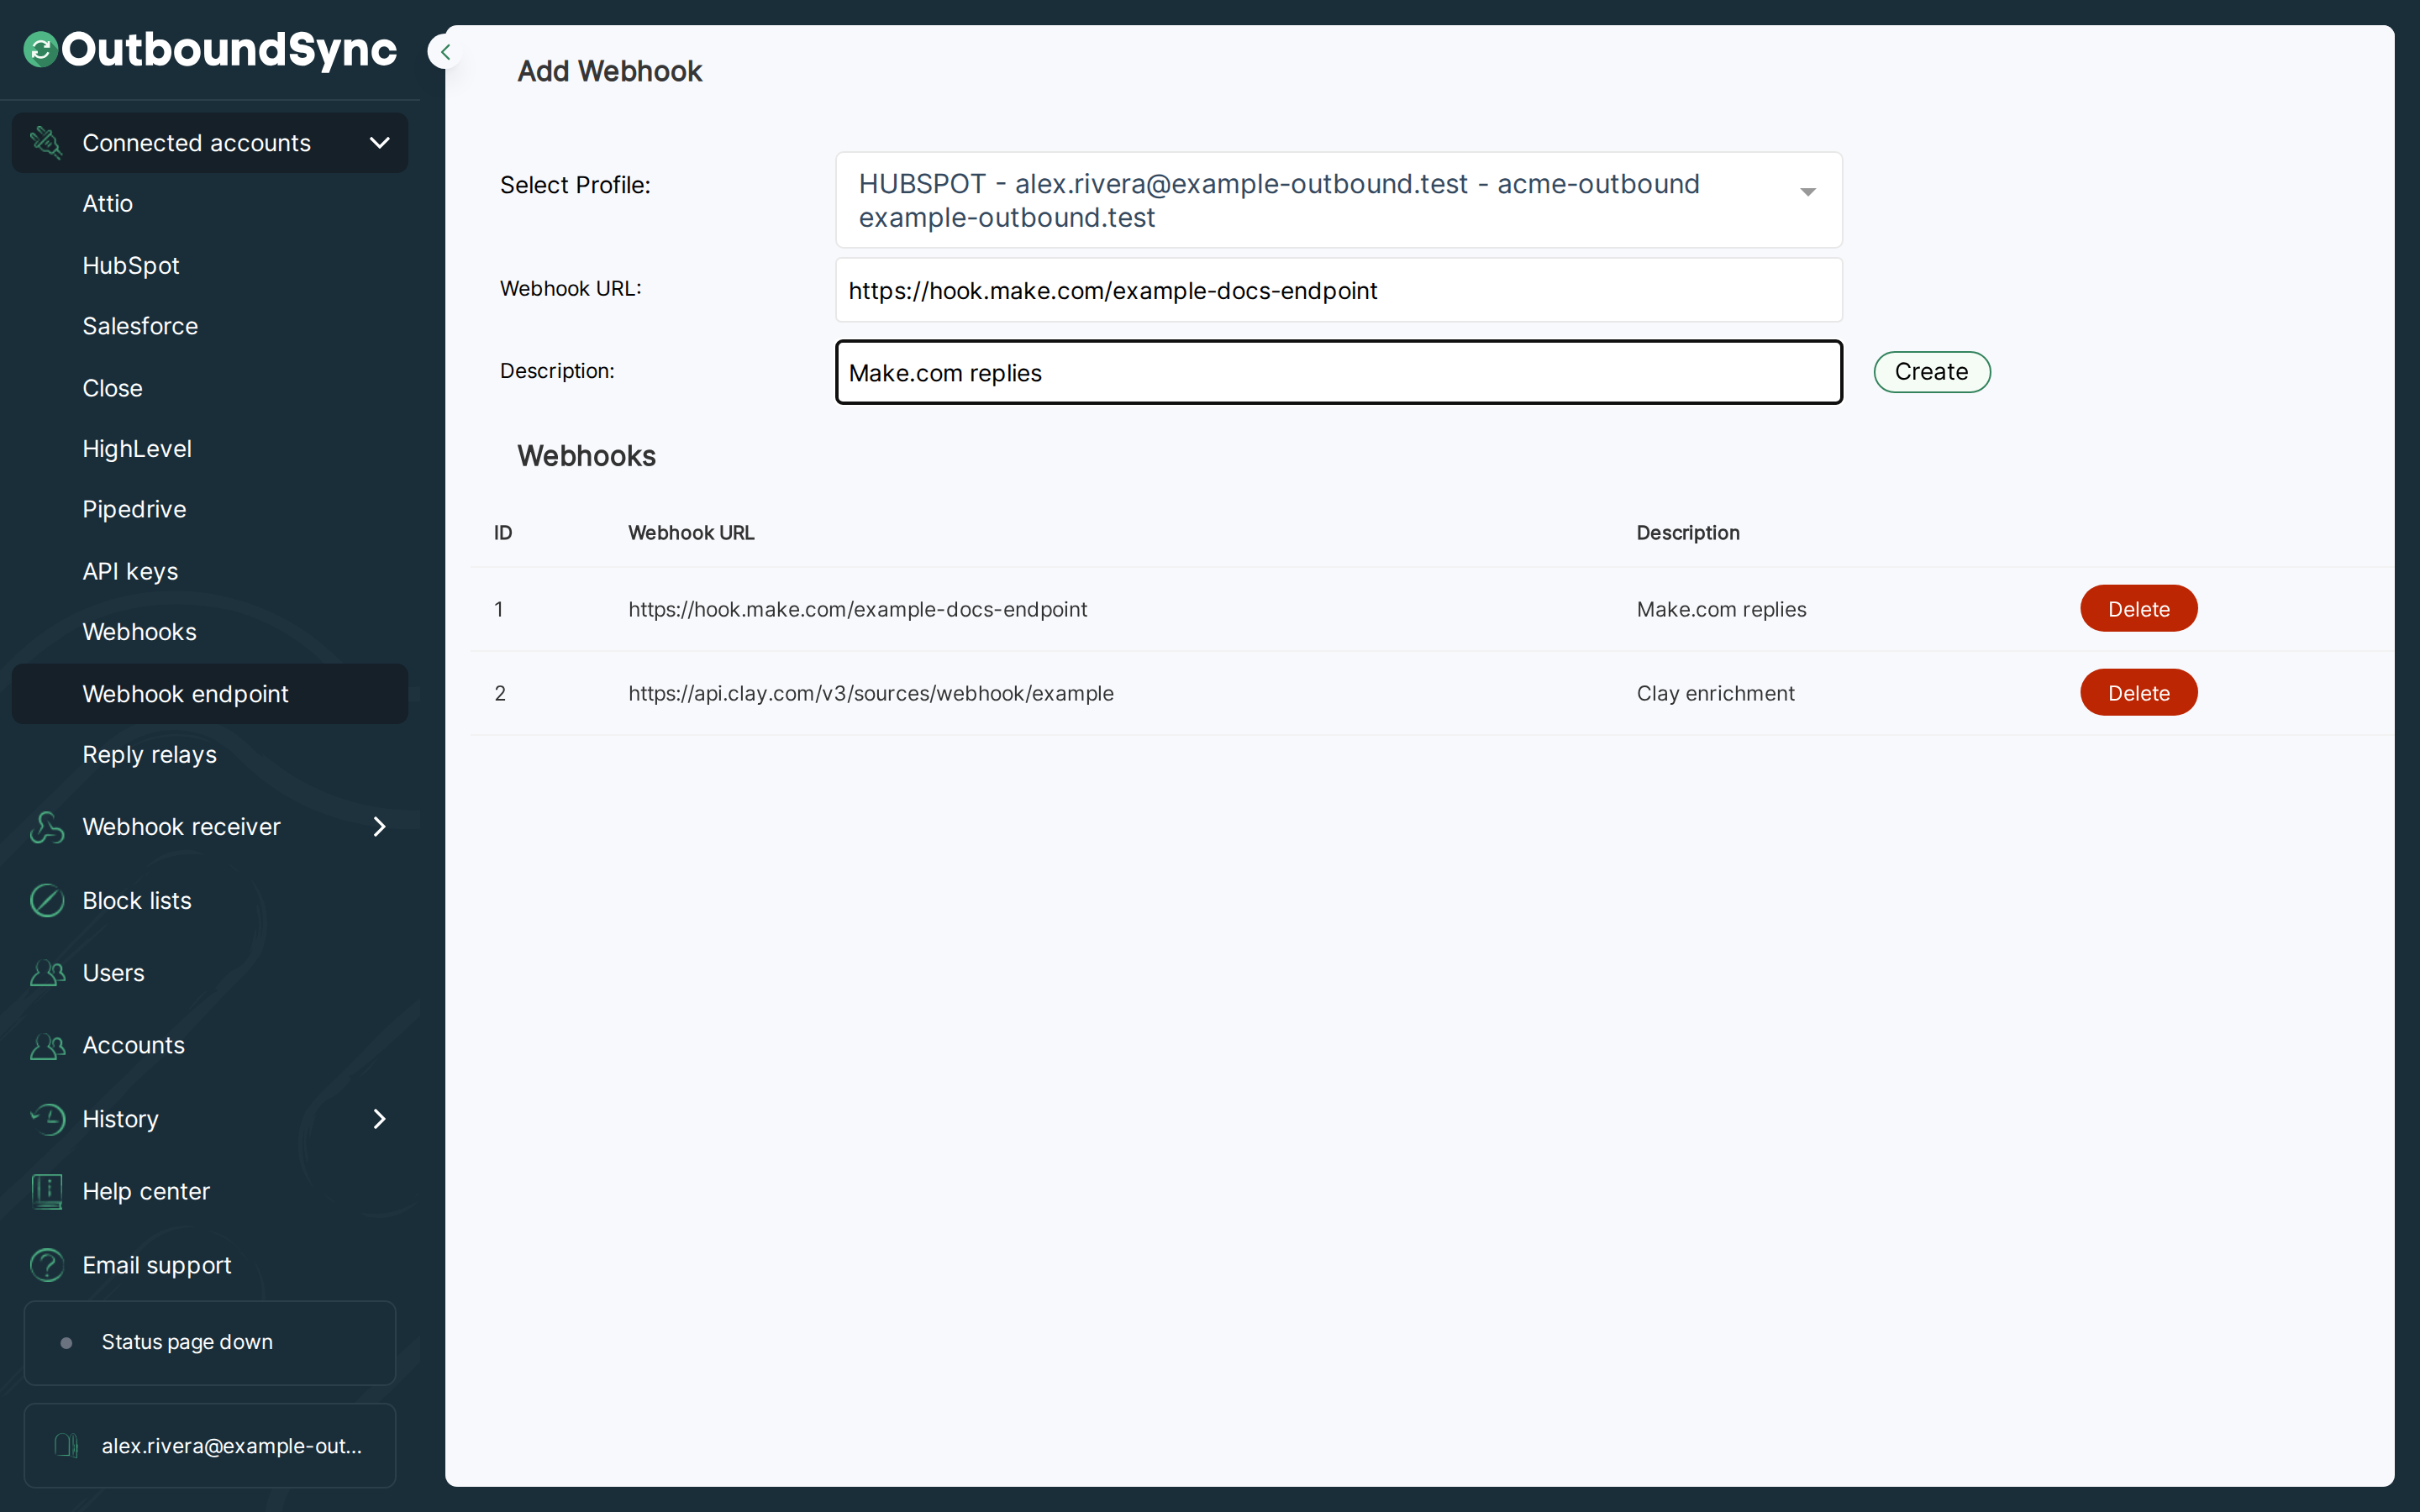
- In OutboundSync, go to Connected accounts → Forwarding destinations.
- Enter the Destination URL from the third-party service.
- Add a Description so you can recognize it later.
- Click Create.
The destination URL must be live when you add it. OutboundSync sends a test POST payload to verify delivery.
Step 2: Attach endpoints on a source
Section titled “Step 2: Attach endpoints on a source”Open a source and configure FORWARDING (OPTIONAL) after you select your CRM profile, set the sales engagement platform to Smartlead, and choose which events to sync (prefer syncing all events unless you need a category filter).
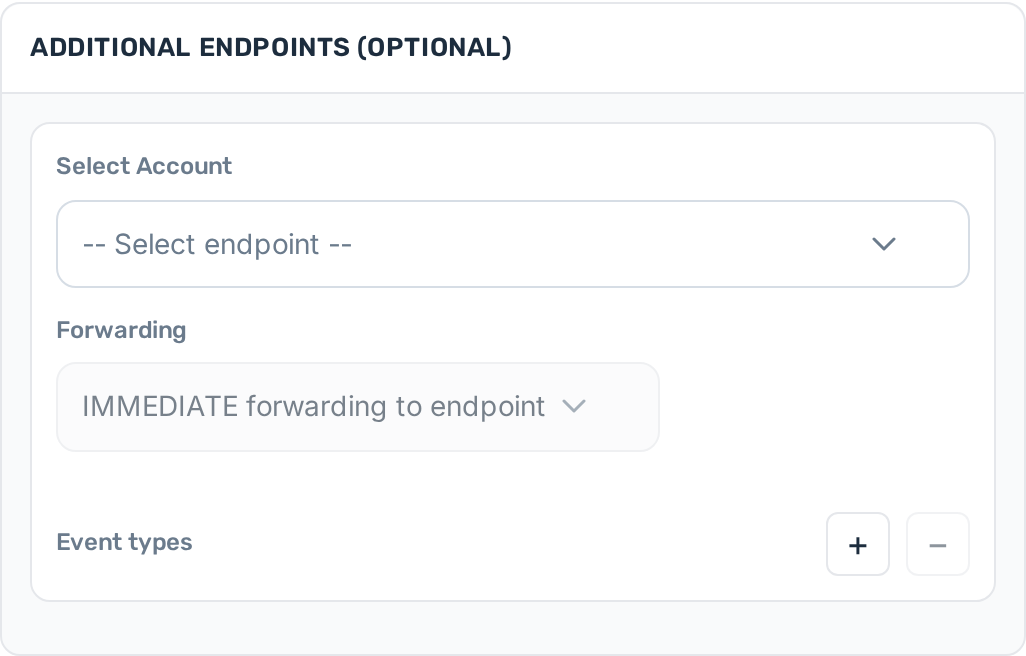
- Go to Sources → Create source, or open an existing source and click Source Settings.
- In FORWARDING (OPTIONAL), use Select Account to choose a destination you registered in Step 1.
- Choose forwarding timing:
- IMMEDIATE forwarding to endpoint — send as soon as OutboundSync receives the Smartlead payload.
- DELAYED forwarding until after CRM sync — send after the CRM sync finishes.
- Select the Event types that should forward to that destination (for example Email Sent, Email Reply, Lead Category Updated).
- Create or update the source to save the configuration.
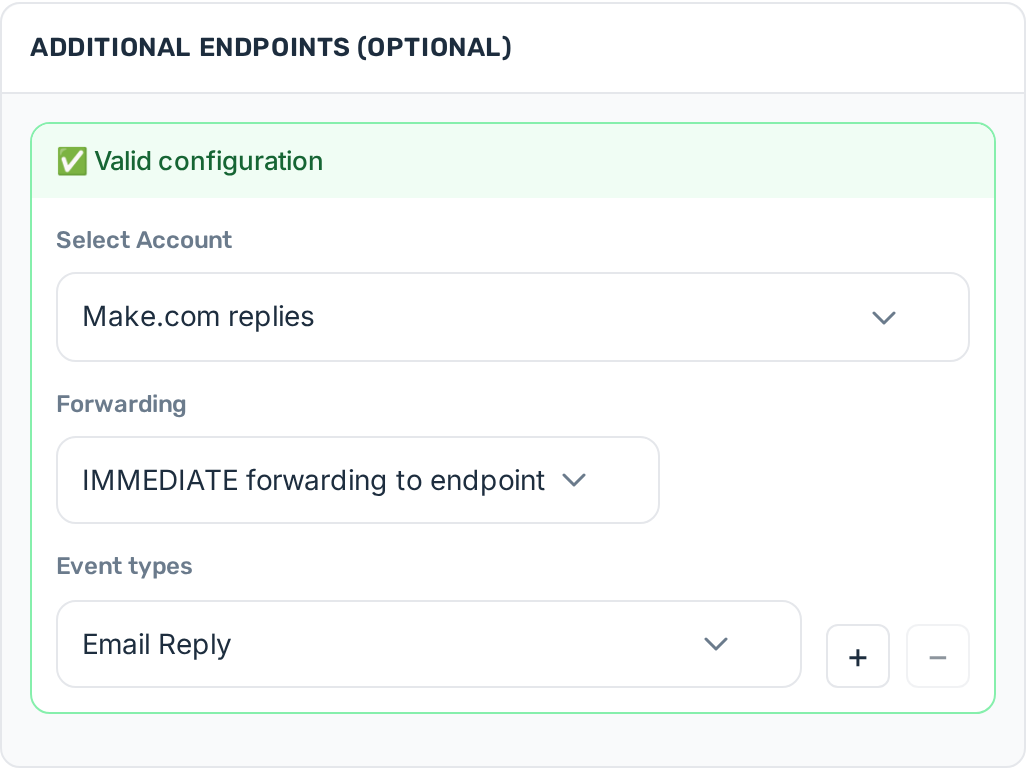
You can attach more than one destination. Each row has its own forwarding timing and event filter.
Step 3: What happens next
Section titled “Step 3: What happens next”Once forwarding destinations are configured, Smartlead payloads that match your event filters are forwarded automatically. CRM sync still runs for every event OutboundSync receives.
For how IMMEDIATE vs DELAYED forwarding, retries, rate limits, and oversized payloads work, see Webhook forwarding with Additional Endpoints.