Creating API keys
When to use this guide: Use this guide when you need to create an OutboundSync API key for a script, internal tool, integration platform, or AI-assisted workflow.
OutboundSync API keys start with osapi_ and authenticate requests to the OutboundSync API. They are not the same as platform API keys for Smartlead, Instantly, EmailBison, HeyReach, or other connected tools.
Prerequisites
Section titled “Prerequisites”Before a key can make successful API requests:
- An administrator must enable API access for at least one CRM connection.
- The connection must remain active and not deleted.
- The API key must be active and scoped to a connection the account can access.
If API access is not enabled for any connection, a valid key returns 403 API access is not enabled for this account.
Create an API key
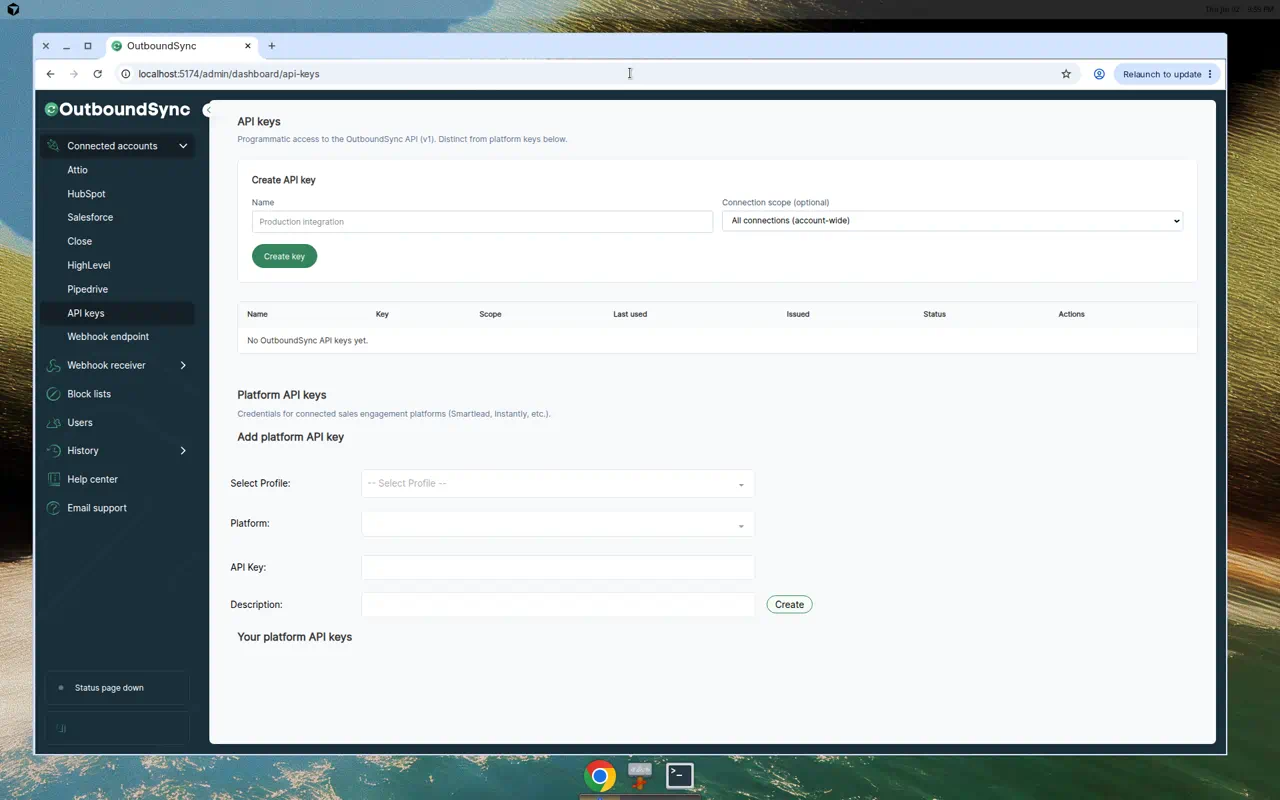
Section titled “Create an API key”- Log in to OutboundSync.
- Go to Connected Accounts → API keys.
- In the API keys section, enter a key name such as
Production integration. - Choose a Connection scope:
- All connections (account-wide) lets the key read all API-enabled CRM connections for your account.
- A single connection limits the key to one CRM connection.
- Click Create key.
- Copy the key immediately. OutboundSync only shows the plaintext key once.
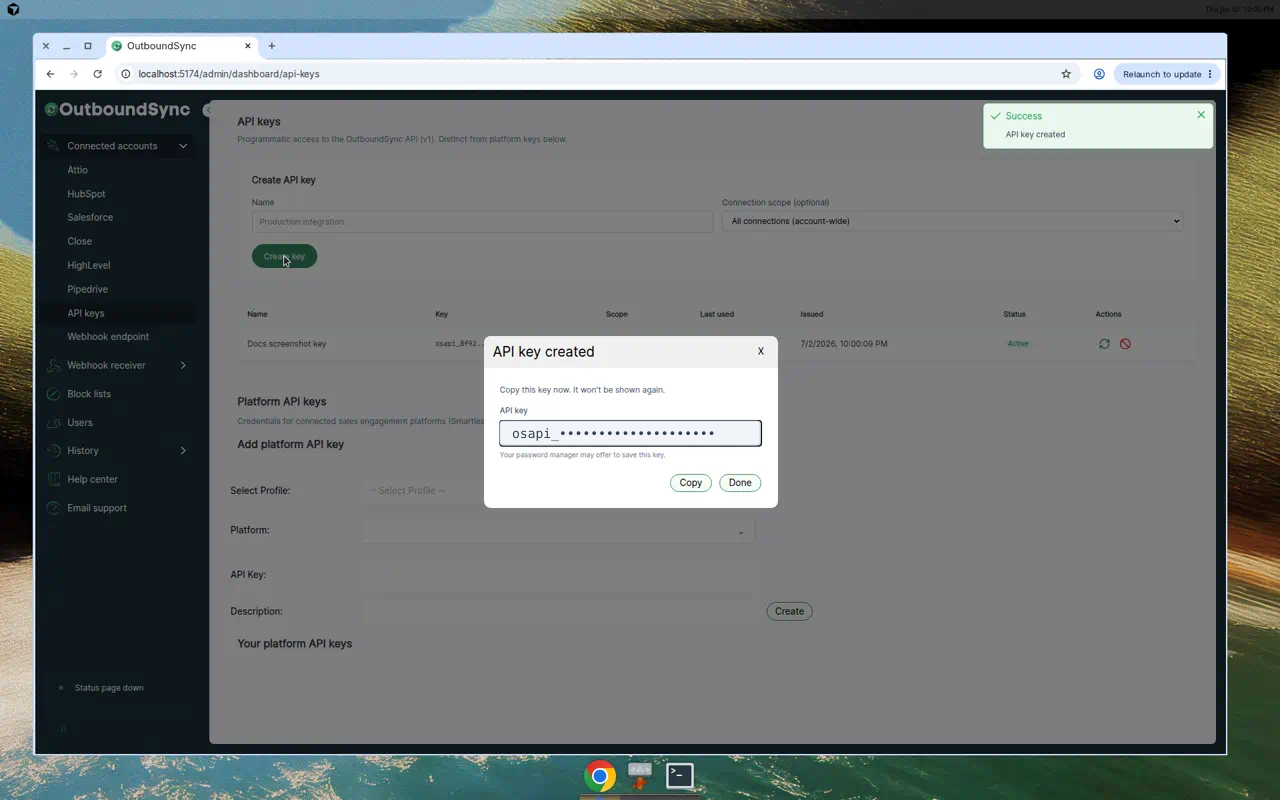
Store the key in a secret manager or environment variable. Do not paste it into source code, chat logs, spreadsheets, or issue trackers.
Test the key
Section titled “Test the key”Use GET /api/v1/me to confirm the key works.
curl https://app.outboundsync.com/api/v1/me \ -H "Authorization: Bearer osapi_<your-secret>"A successful response includes the authenticated account, key metadata, and the CRM connections that key can access.
Rotate a key
Section titled “Rotate a key”Rotate a key when it may have been exposed or when your security process requires regular credential rotation.
- Go to Connected Accounts → API keys.
- Find the key.
- Click Rotate.
- Copy the new key immediately.
- Update every script, tool, or automation that used the old key.
The previous key stops working as soon as rotation succeeds.
Revoke or archive a key
Section titled “Revoke or archive a key”Use Revoke when a key should stop working. Revoked keys remain visible in the table until you archive them. Use Archive only after you no longer need the revoked key in the admin view.
Scope keys narrowly
Section titled “Scope keys narrowly”Use connection-scoped keys when an integration only needs one CRM connection. Use account-wide keys when the integration needs to discover every API-enabled connection on the account.
Ask an AI coding assistant
Section titled “Ask an AI coding assistant”After creating a key, paste this prompt into your coding assistant:
Use my OutboundSync API key from the OUTBOUNDSYNC_API_KEY environment variable.Call GET https://app.outboundsync.com/api/v1/me with Bearer authentication.If the request succeeds, list the key name, scope, and CRM connections. If it fails, explain whether the likely issue is a missing key, invalid key, disabled API access, or rate limiting.Related guides
Section titled “Related guides”- Get account and connections
- Errors and rate limits
- Connect your Smartlead API key — platform key setup, not OutboundSync API access